The home barista's field guide • Grind & Brew
Steaming Milk Without a Barista Course: What Actually Matters
Explain the two things that actually determine milk texture (air introduction stage vs. texturing stage) in plain terms, common mistakes, and why pitc

Steaming Milk Without a Barista Course: What Actually Matters
Most home espresso users treat milk steaming like a mystical art requiring professional training. In reality, it's two distinct mechanical processes that happen in sequence. Get those right, and you'll produce microfoam that rivals commercial cafés without ever setting foot in a barista course.
The Two Stages: Why They're Separate
Milk steaming isn't one continuous action—it's air introduction followed by texturing. Confuse these stages, and you'll end up with either hot, thin milk or a pitcher full of stiff foam.
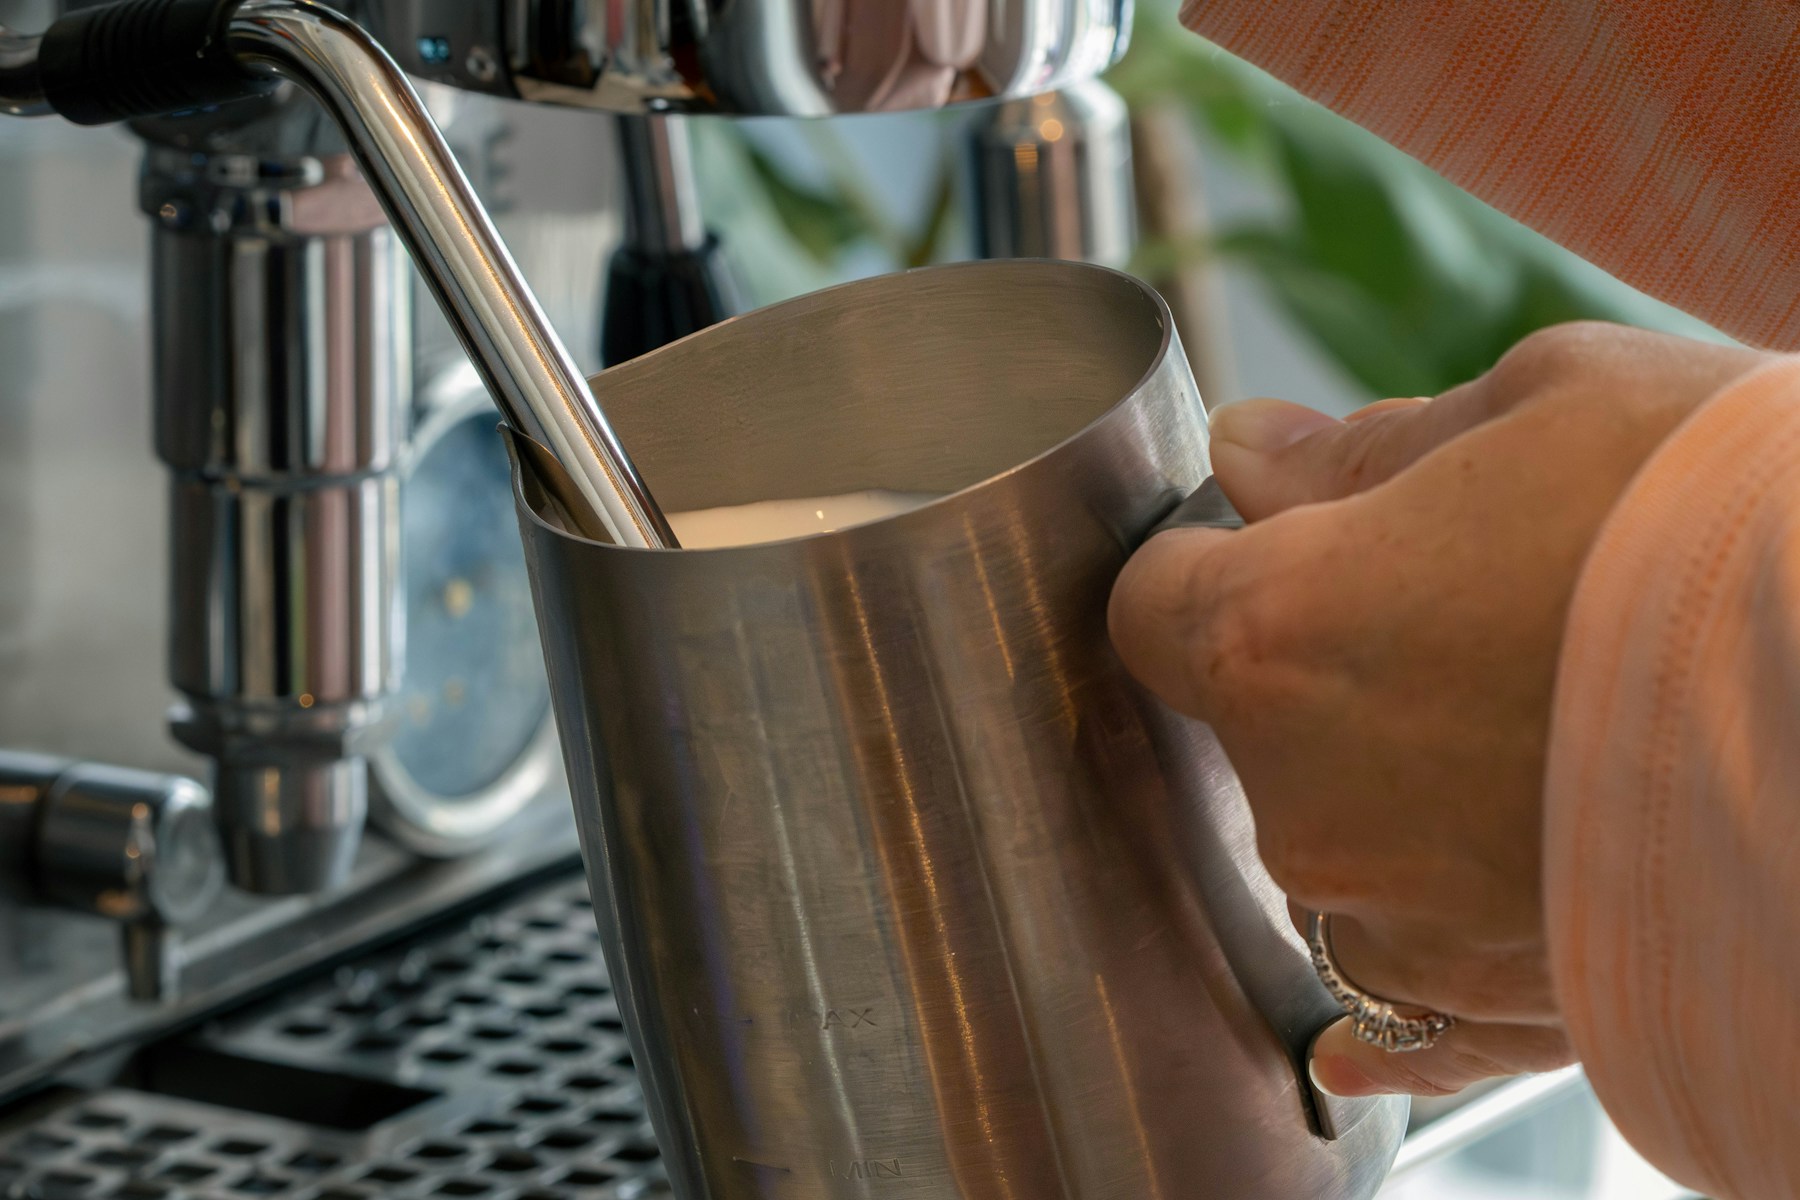
Stage one is stretching. You're positioning the steam wand tip just below the milk surface, creating that characteristic tearing sound as air enters the liquid. This typically lasts 3–5 seconds for a small pitcher. You're deliberately introducing air bubbles into cold milk, increasing its volume. Once you've added the air you need—milk should rise roughly a third in the pitcher—this stage ends.
Stage two is texturing. Submerge the wand tip deeper, eliminating the tearing sound. Now you're creating a vortex that breaks down the large bubbles introduced during stretching. The milk spins in a rolling motion, integrating air into tiny, uniform bubbles throughout the liquid. This continues until your pitcher reaches the target temperature.
The critical error: trying to do both simultaneously. If you keep introducing air whilst the milk heats, you'll create large, unstable bubbles that separate into foam and liquid. If you never introduce enough air at the start, you're just heating milk, not steaming it.
Why Pitcher Size Dictates Everything
A 600ml pitcher isn't just "bigger"—it changes the entire process. The larger volume means more thermal mass, giving you additional seconds before the milk overheats. That extra time lets you properly texture without rushing the vortex stage.
In a small pitcher—say 350ml—you might have 15 seconds total before hitting 65°C. Spend five seconds stretching, and you've got ten seconds to texture. In a 600ml pitcher with the same steam power, that 65°C arrival takes perhaps 25 seconds. Those extra seconds mean smoother integration of air bubbles.
Counterintuitively, using an oversized pitcher for a single drink creates worse results than using a properly matched one. Half-fill a 600ml pitcher for a single cappuccino, and the shallow milk depth makes it harder to maintain a consistent vortex. The steam wand tip position becomes critical—too deep and you lose the rolling motion; too shallow and you reintroduce unwanted air.
Match your pitcher to your typical milk volume. For a single drink, 350–400ml works. For two drinks, 600ml. It's not about having the largest pitcher—it's about filling it two-thirds full so the milk depth supports a proper vortex.
Temperature: The Non-Negotiable Window
Milk proteins denature above 70°C, giving you burnt-tasting, thin liquid. Below 60°C, you've simply got warm milk without proper sweetness development. The target—63–65°C—isn't arbitrary. This range maximises lactose sweetness whilst preserving the protein structure that stabilises foam.
Most people overheat because they're judging by touch alone. By the time a stainless steel pitcher feels too hot to hold, the milk inside is often past 70°C. The metal conducts heat, but there's a lag between the pitcher's external temperature and the milk's internal temperature.
Professional baristas develop an intuitive sense for this, but home users benefit from a simple thermometer clipped to the pitcher. Digital thermometers with instant readouts work, but even a basic dial thermometer gives you the feedback needed to stop steaming at 64°C, accounting for the 2–3 degree rise that occurs after the steam stops.
Starting temperature matters too. Milk straight from a 4°C fridge gives you maximum working time. Room-temperature milk cuts your texturing window by a third, making proper foam difficult before you hit the upper temperature limit.
Common Errors That Look Like Technique Problems
Large bubbles on the surface after steaming usually mean you've introduced air too late in the process, when the milk was already warm. Warm milk doesn't integrate air—it just traps large bubbles. All air introduction must happen in the first few seconds whilst the milk is still cold.
Thin, flat milk typically results from insufficient air introduction. People fear the tearing sound and move to the quiet texturing stage too quickly, never actually stretching the milk. Embrace that brief period of noise—it's confirmation that air is entering.
Milk that separates into distinct foam and liquid layers within 30 seconds indicates under-texturing. The vortex stage wasn't maintained long enough to break down the bubbles introduced during stretching. This often happens when users panic about overheating and shut off the steam prematurely.
The Real Practice Required
You're not learning esoteric wand angles or mysterious hand movements. You're learning to recognise two sounds, maintain one consistent wand depth for each stage, and stop at a specific temperature. That's mechanical skill, not arcane knowledge.
Expect to waste a dozen pitchers of milk getting the timing right for your specific machine. Steam power varies significantly between domestic machines—a 1.2-bar pump produces different results than a 1.8-bar system. Once you've calibrated for your equipment, the process becomes entirely repeatable.
The difference between adequate and excellent microfoam is smaller than most people think. If you're consistently hitting 64°C with a uniform texture free of large bubbles, you're producing drink-quality foam. The marginal improvements beyond that point matter more in competition than in your morning flat white.